4.8 Deployment of VM
✅ Deployment of VM
deployment in VM = take a VM to a different computer
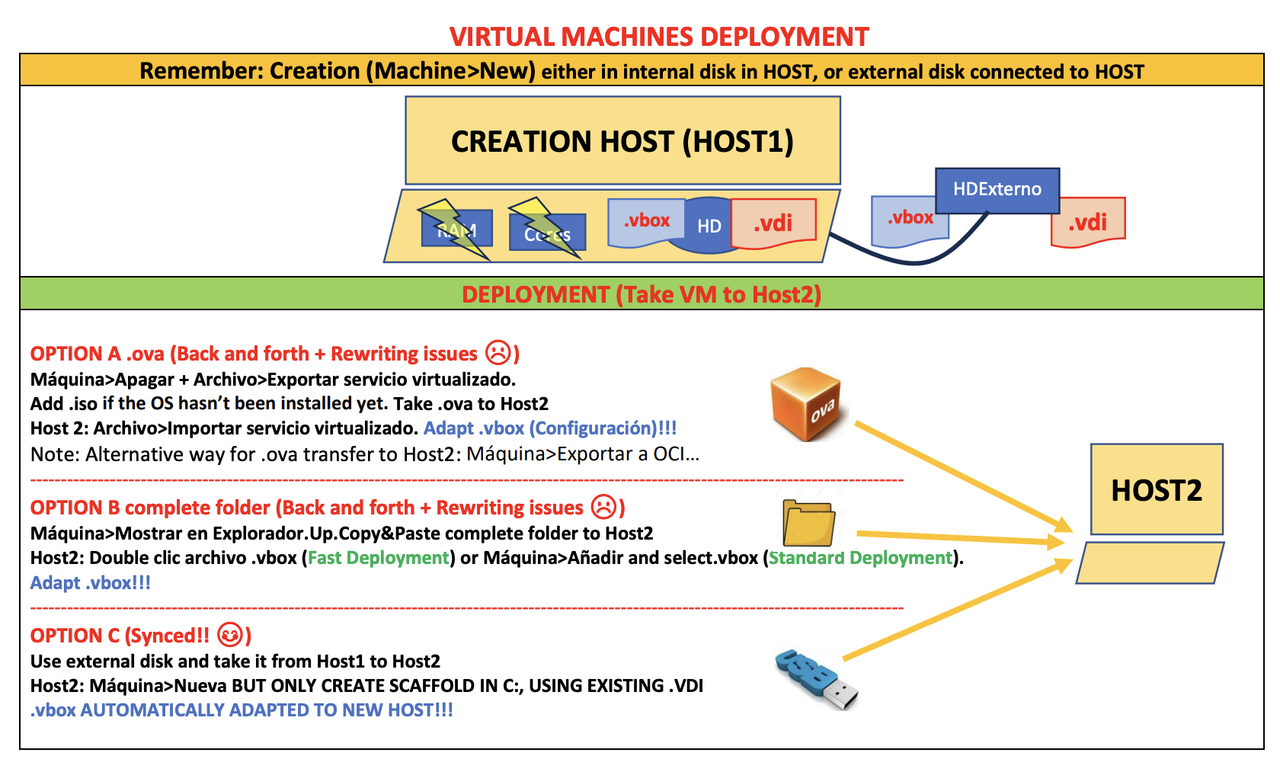
1️⃣ Create a .ova file
ova: Open Virtualization Appliance
- open: standard, everybody can use it
.ovafile is open, standard.ovafile is like takingvboxandvdiand making a compressed folder
💡 step by step of using .ova file for deployment
- 1️⃣ Create the
.ovafile from host 1 - 2️⃣ Then send the compressed file to host 2
- ❓ How can I send the
ovafile? - (1) using a USB, external disk
- (2) use cloud
- (3) use massive transfer platform: file sharing platform, then download
- 👀 like
dropbox,Drive,eTransfer,Mega… - 3️⃣ In host 2, import the
ovafile
👎🏻 Problems of using ova file method for deployment
- the
ovafile contains the settings of the original computer - so when use the
ovain the new host, - the settings have to be modified, need to be updated for the host 2
- adopt the
vbox
🛠️ When to use ova method
- when all computers are the same
- like in a company
- many companies can have
Windows + LTSC(longterm, no updates) - so that all company computers are identical
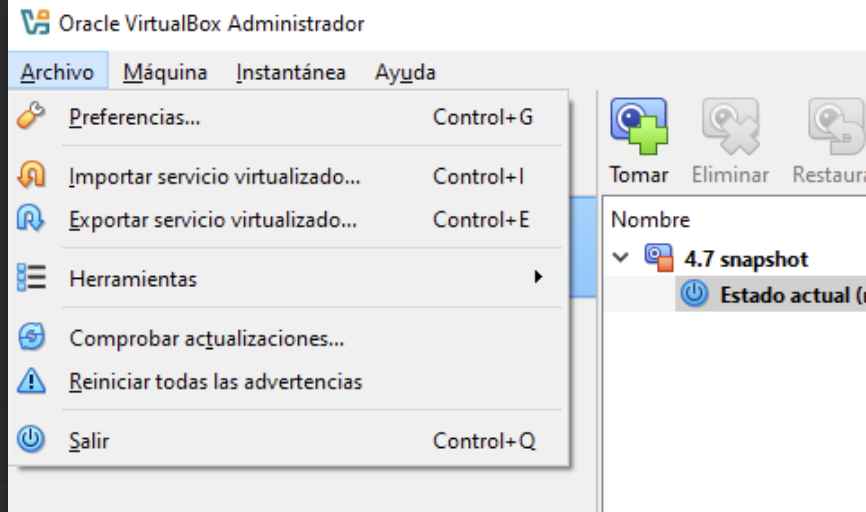
💡 How to create ova file in host 2
- 1️⃣ turn machine off
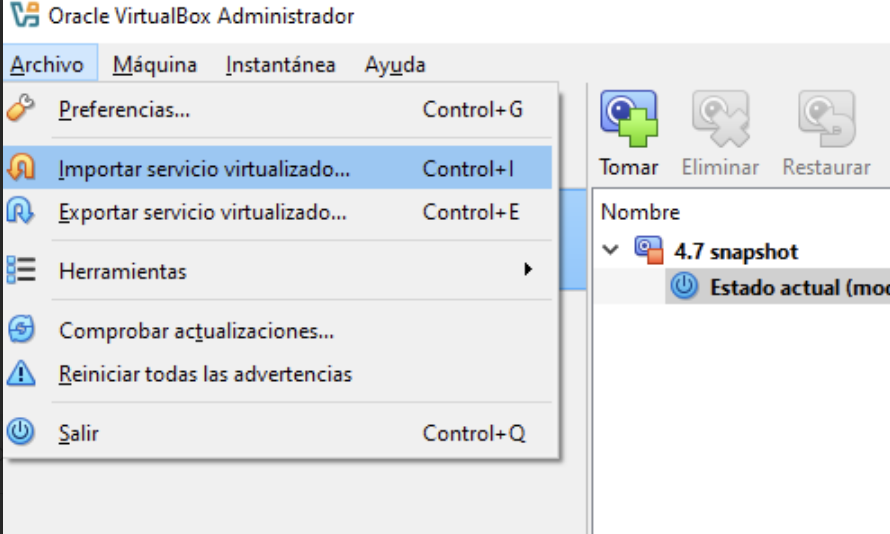
- 2️⃣
archivo > export
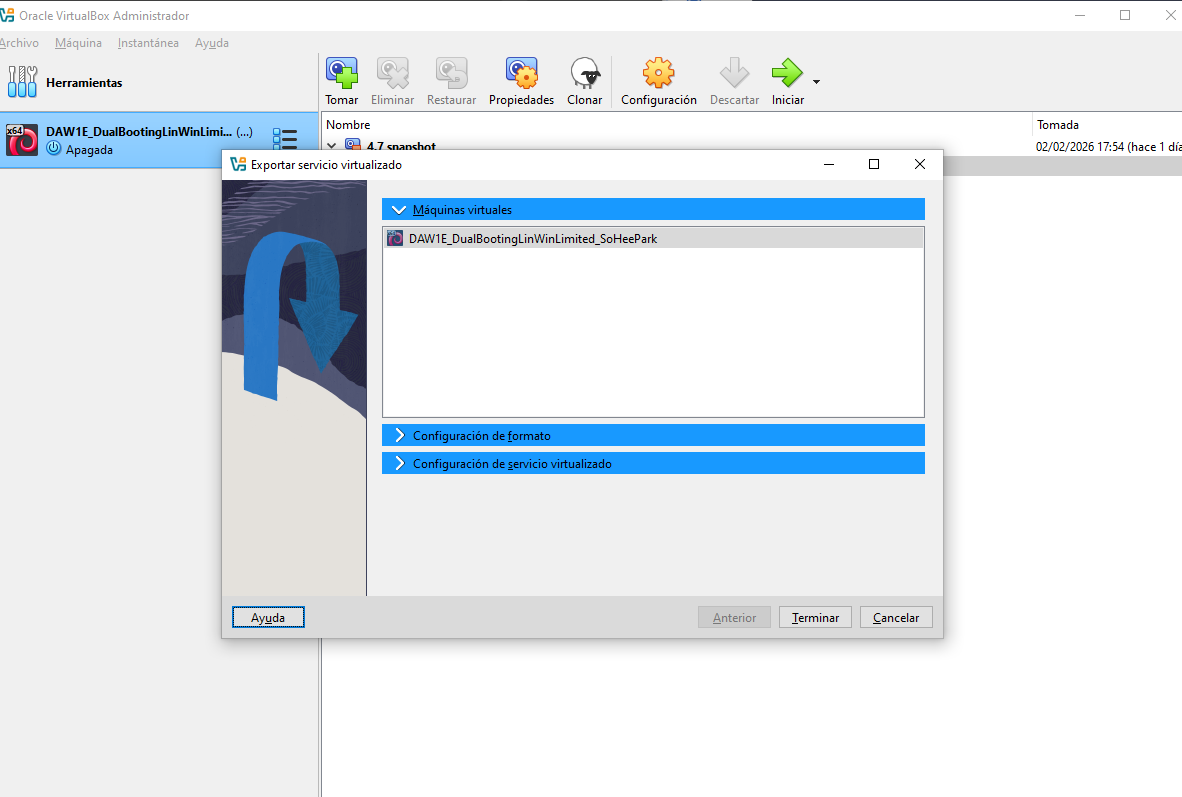
- 3️⃣ select the machine you want to create the
ovafile - 4️⃣ decide if you want to contain the
isoinside theovafile
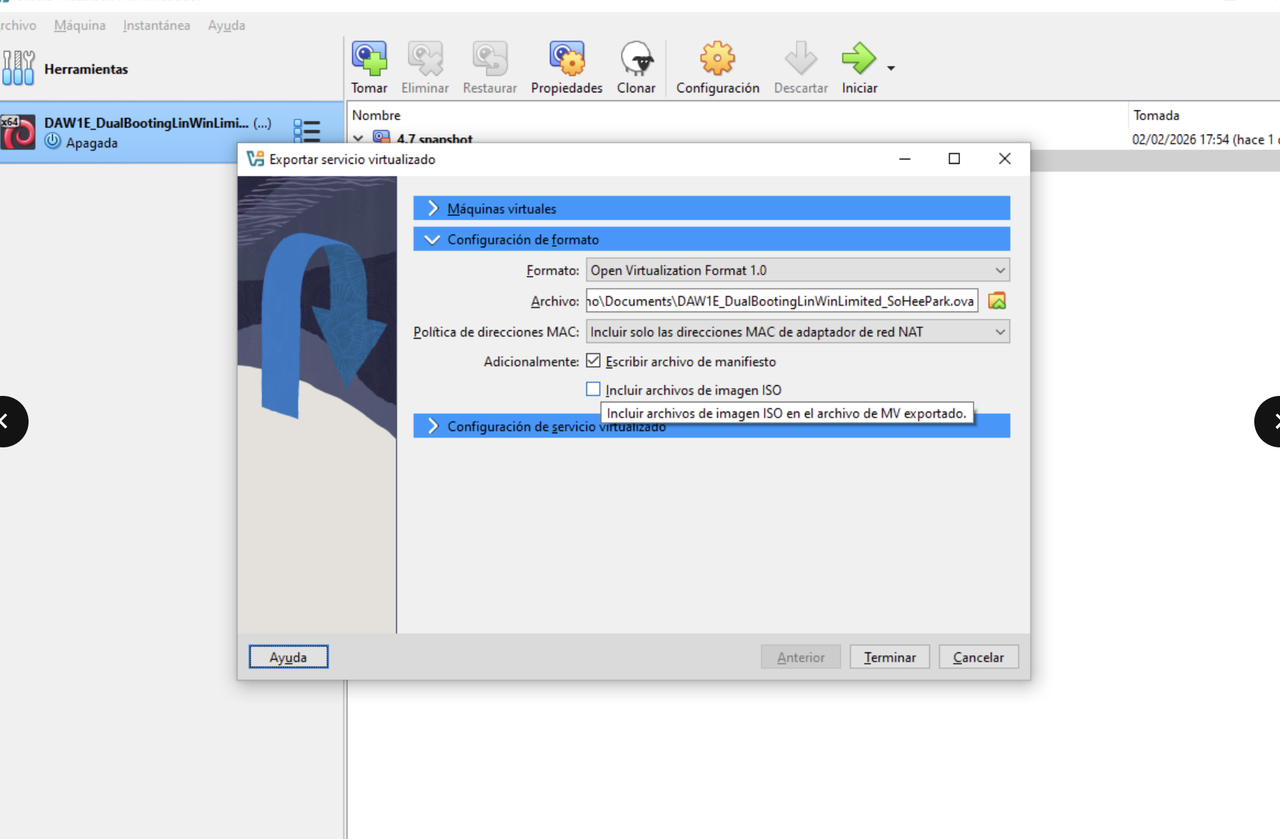
- ❓ when to contain the
isoinside theova - when you did not install
- so if you are finished with installing, do not contain it
- 5️⃣ do not change the name of the
ova - 6️⃣ the
ovafile is always stored in thedocuments folderin the userc:\usuarios\<username>/Documents - many ppl try to find the
ovain the virtual box folder,ovais inside Documents folder - 7️⃣ if the
ovais for an official, comercial purpose(if I am trying to sell thisova), you add comments

- url: url that you will upload the
ova - 8️⃣ then click on terminal
🟧 ova is orange
- vbox: 🟦 settings
- vdi: 🟥 harddisk
- extension pack: 🟩
- ova: 🟧 ova
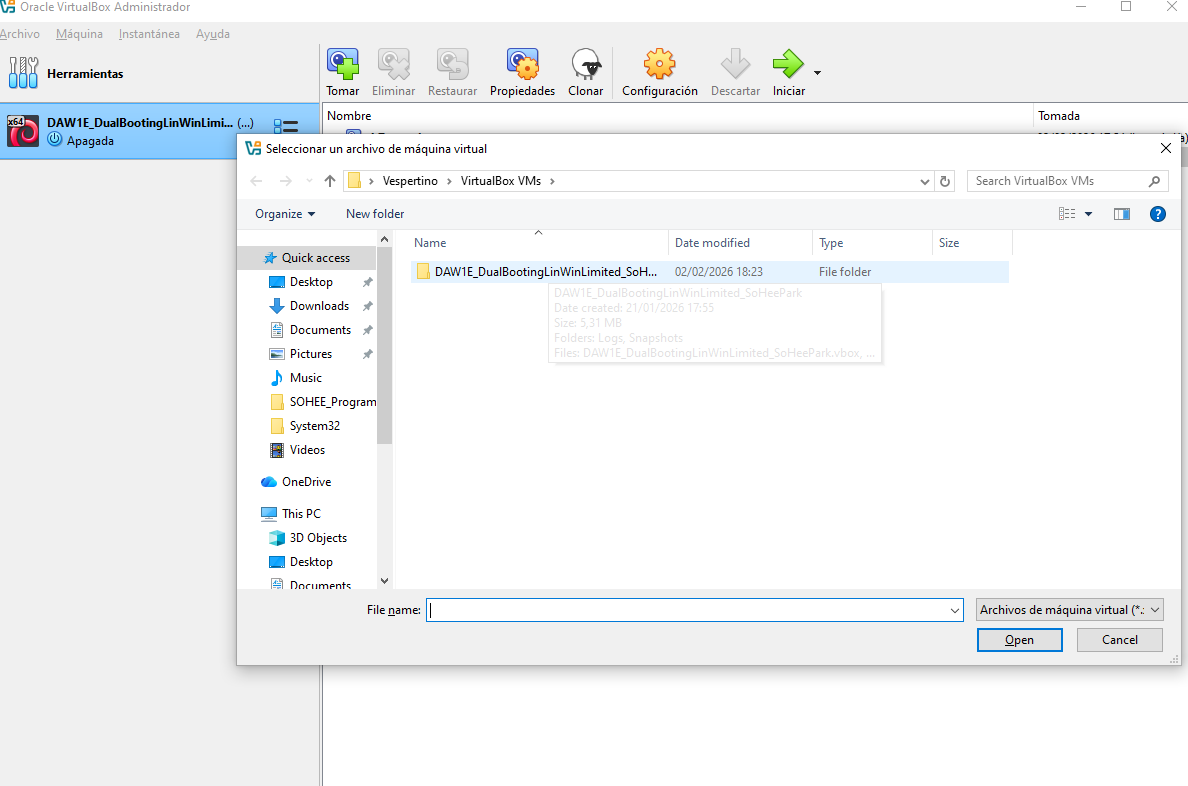
💡 in host 2, import
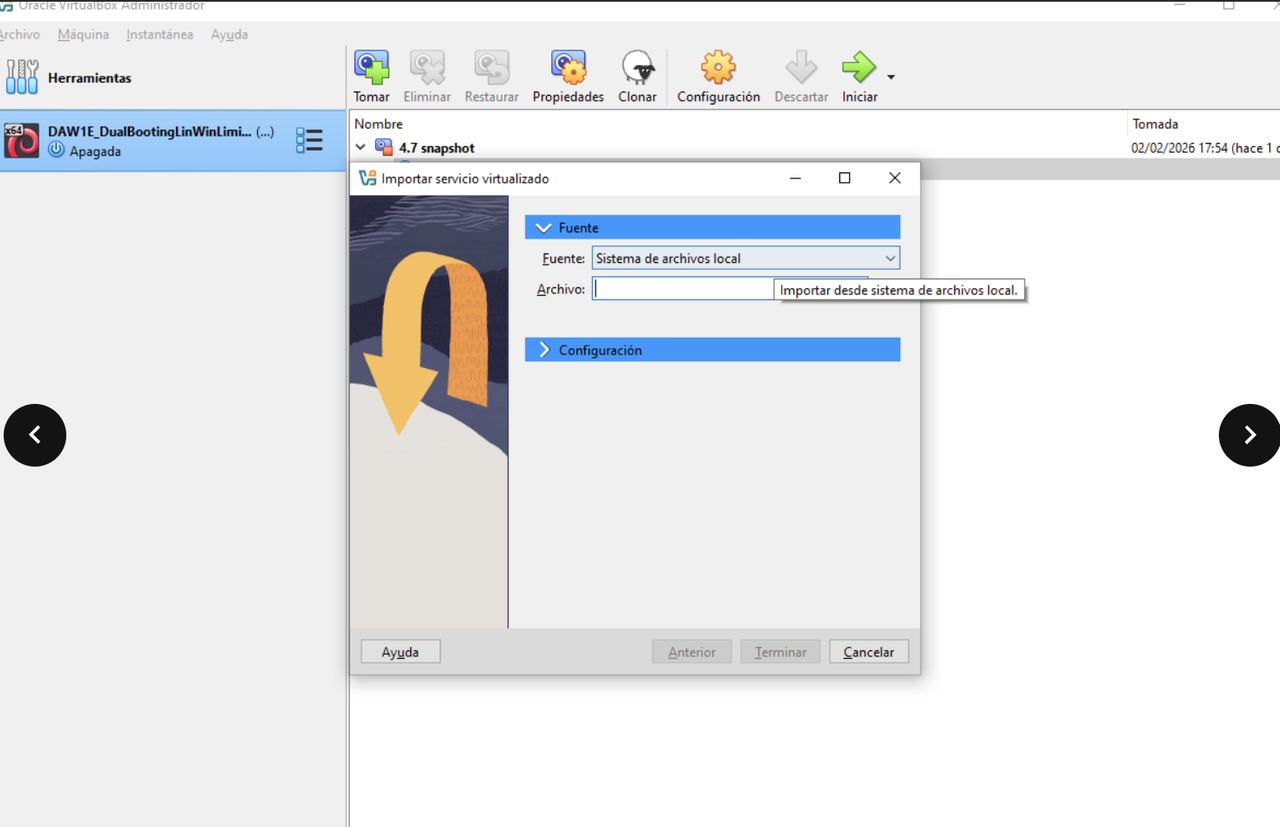
- in host 2, you have to import the
ovafile - so go to the VM, and navigate to
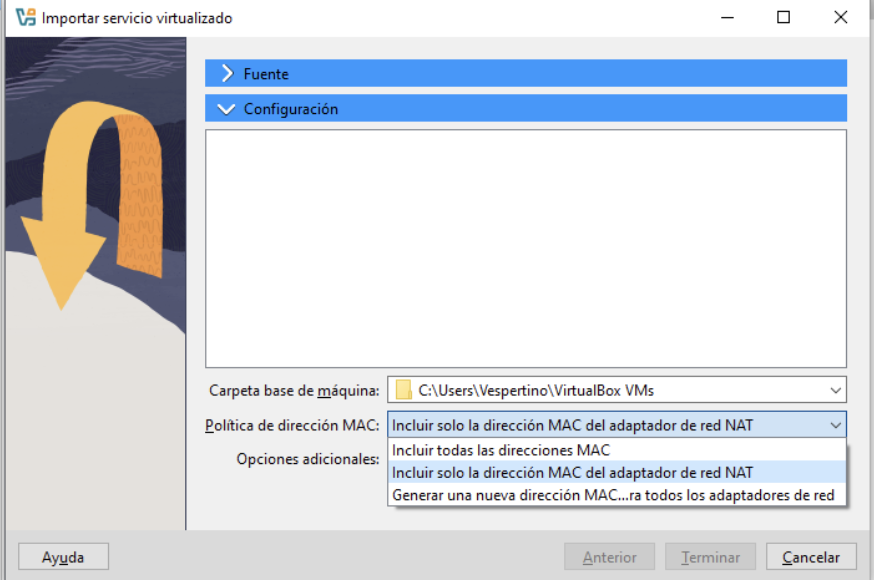
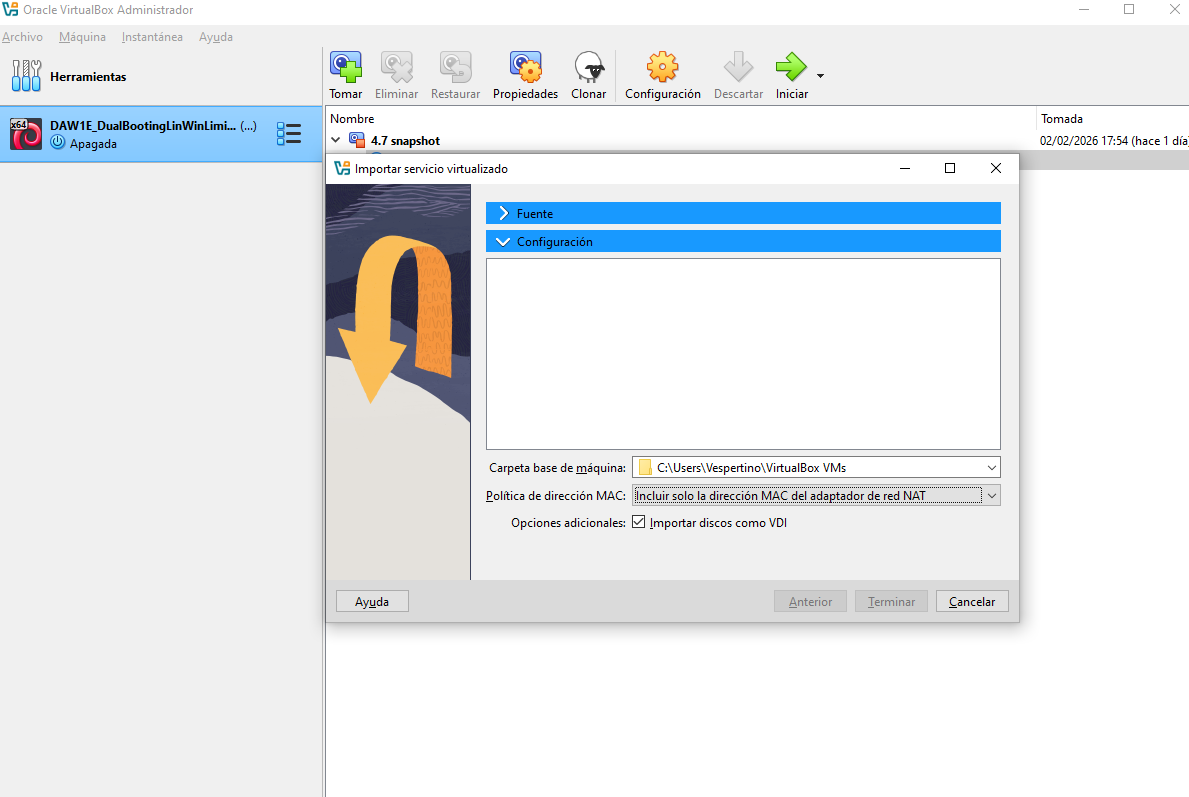
import - dont change any settings
- but make sure: MAC address
- MAC address: choose option corresponding to the number of the VM interconnected
⭐️ Important note
- when you use
ovamethod - remeber you have to adapt the
vboxsettings to your computer - according to host2
👎🏻 Back and forth and Rewriting
- Back and forth:
- when you try to import the updated
ovaand you alredy have the VM installed - it will say “This ova already exsits”
- 👉🏻 so you will have to overwrite the original VM
- 👎🏻 Overwrite is bad for secondary memory, harddisks
- haddisks will lose elasticity
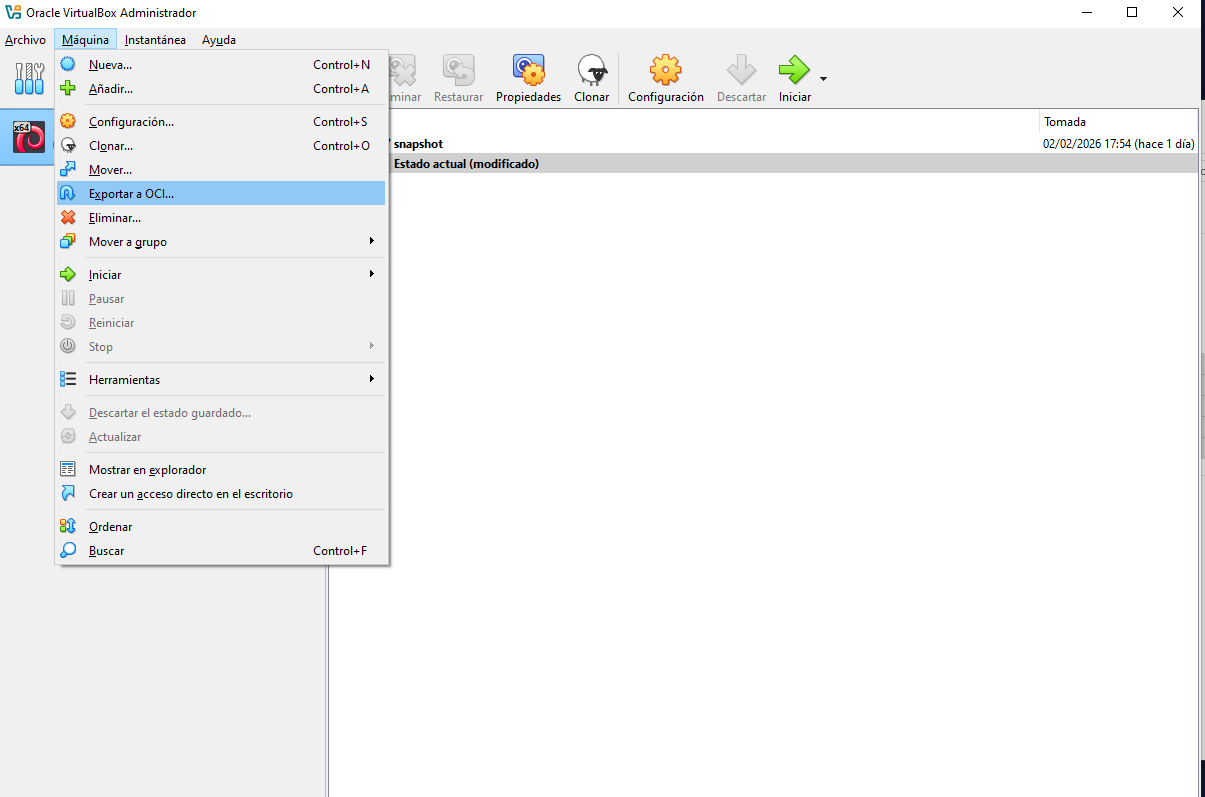
💡 OCI
- Oracle Clouding Interface
- so oracle offers their clouding service for their
ova - If you want to use OCI instead of
export > archivofor creating a normalova - do
machine > exportar a OCI
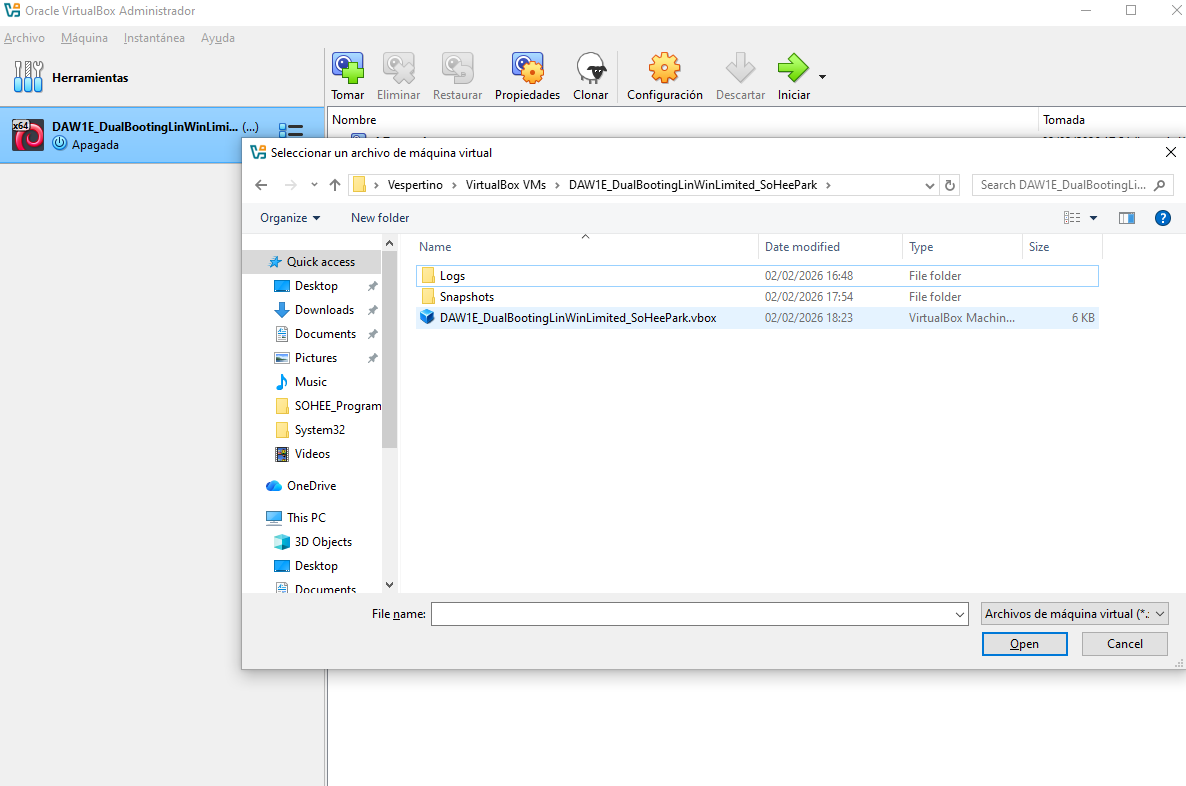
2️⃣ Send/Move host1 complete folder to the host2
💡 How to send the folder

- 1️⃣ do
right click > mostar en explorador
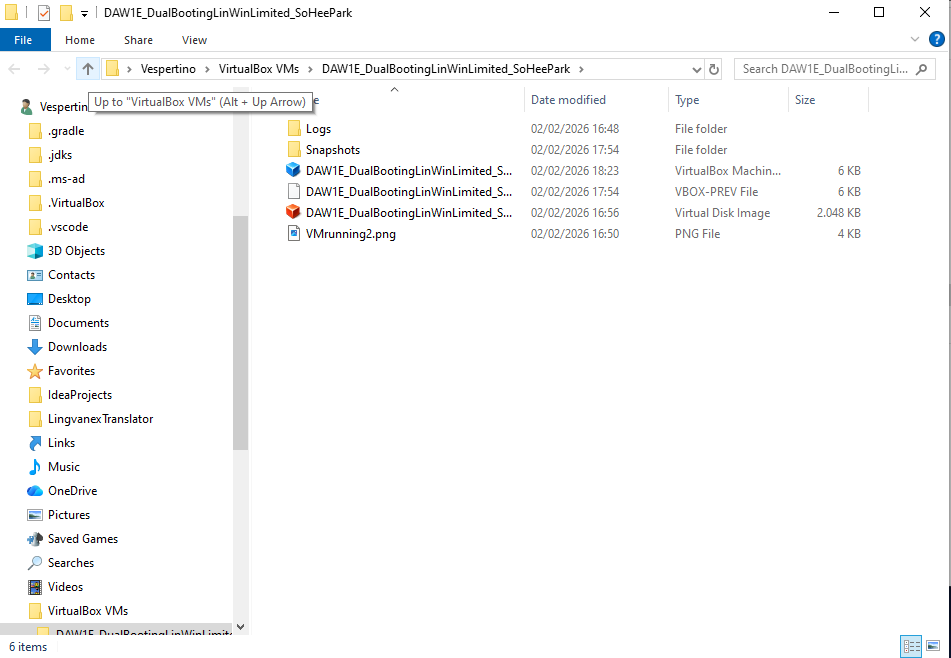
- 2️⃣ go one folder up, then you can take the whole folder
- 폴더 통째로 선택할 수 있도록 폴더 구조 위로 올라가기
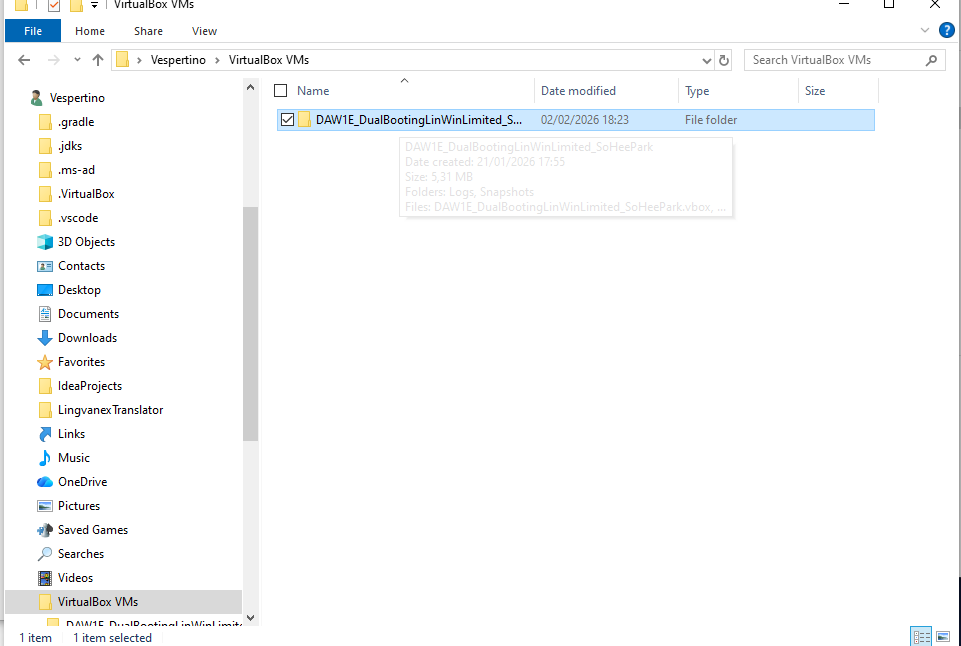
- 3️⃣ now send the whole folder to the host2
- 4️⃣ In host 2, you have two options
- (1) Fast deployment
- (2) Slow deployment
⭐️ Fast deployment
- double click on
vbox - 👎🏻 if the
vboxis not compatible between host1 and host2 - you will get an error, aborted
- does not give you the opportunity to adopt the settings
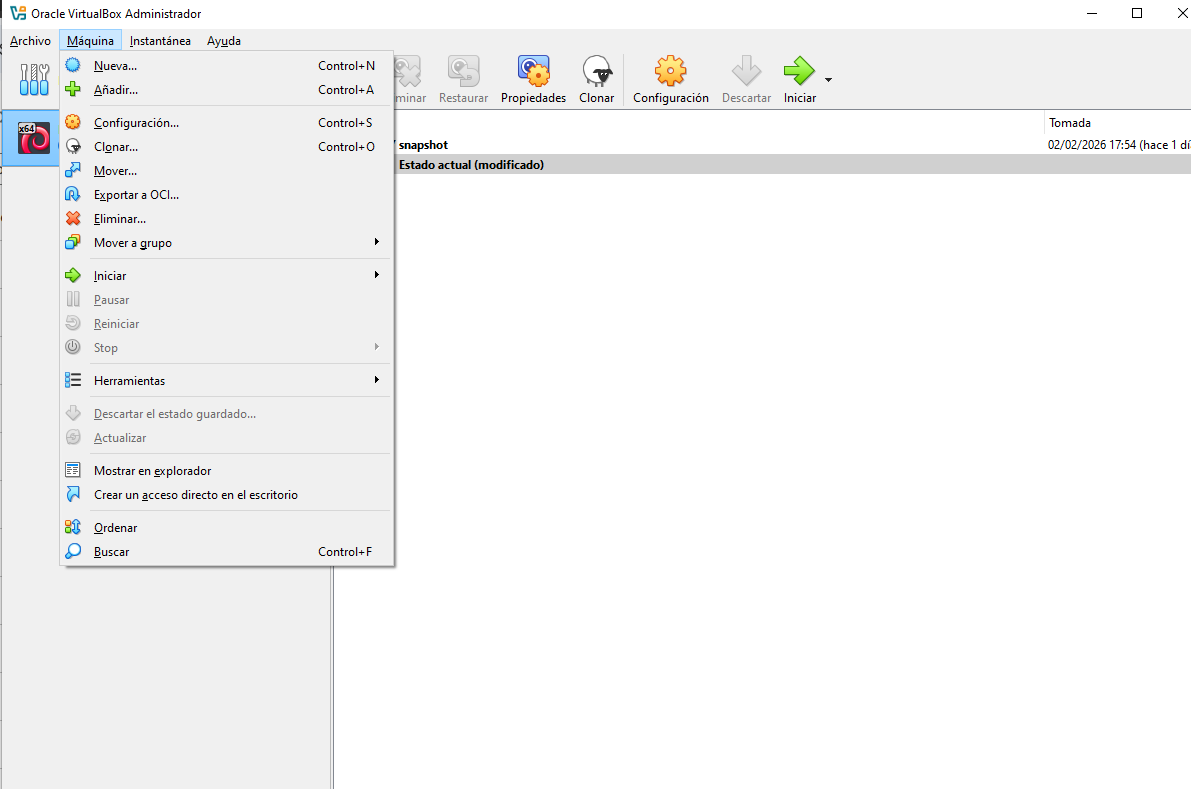
⭐️ Slow deployment
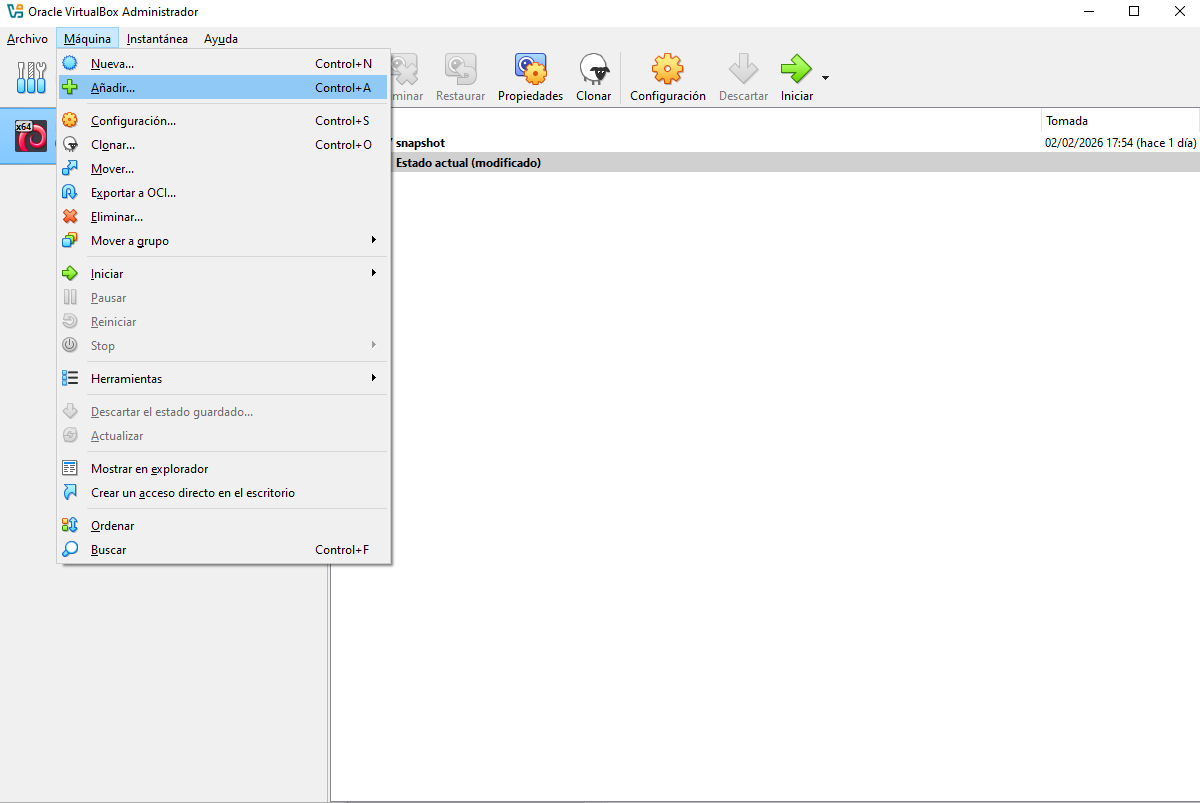
- in host 2 VirtualBox,
maquina > añadir
- then you can navigate to the concete
vbox - the scaffold will appear
- then you can modify the settings, modify the
vbox
👎🏻 Back and forth and Rewriting
- same problem with the
ova
3️⃣ Synchronized
👍🏻 Synchronized
- do not have the problem of back and forth and rewriting
- whatever I do to the VM host2 will be applied, kept for host1
💡 How to use synchronized method
- you take the VM to an external disk, USB
- create in host2 a link/an access to that VM, inside the host2
- so that USB is the VM
- 👍🏻 each computer will be a perfect access to the VM
- the VM will always be the same
👍🏻 and you always carry the VM in your USB
- But to create a VM inside the external disk is slow
- So you can create the VM in the internal disk
- and copy it to the external disk
- then create the access in host2
💡 How to create a new access to my machine in USB
- 1️⃣
maquina > new
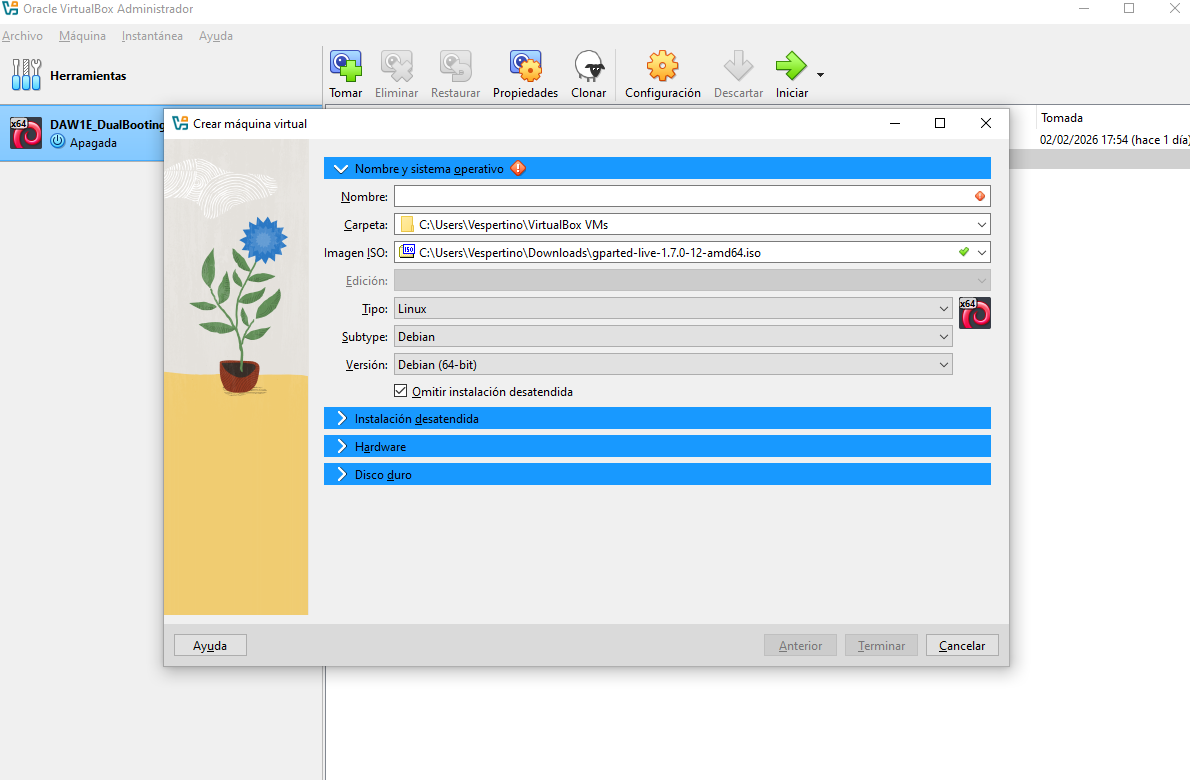
- 2️⃣ Name: should be the same as the original machine
- 3️⃣ Folder: always
C: - remember, you are just creating an access, not a new machine.
- the access is in your host2
- folder should be
C: - 4️⃣
iso: add it, VirtualBox makes addingisomandatory, obliged - but we are not going to use the iso, so just add any iso
- purpose: to continue with Virtual Box, to omit unattended iso
- Virtual Box does not let you omit unattended installation unless u add an iso
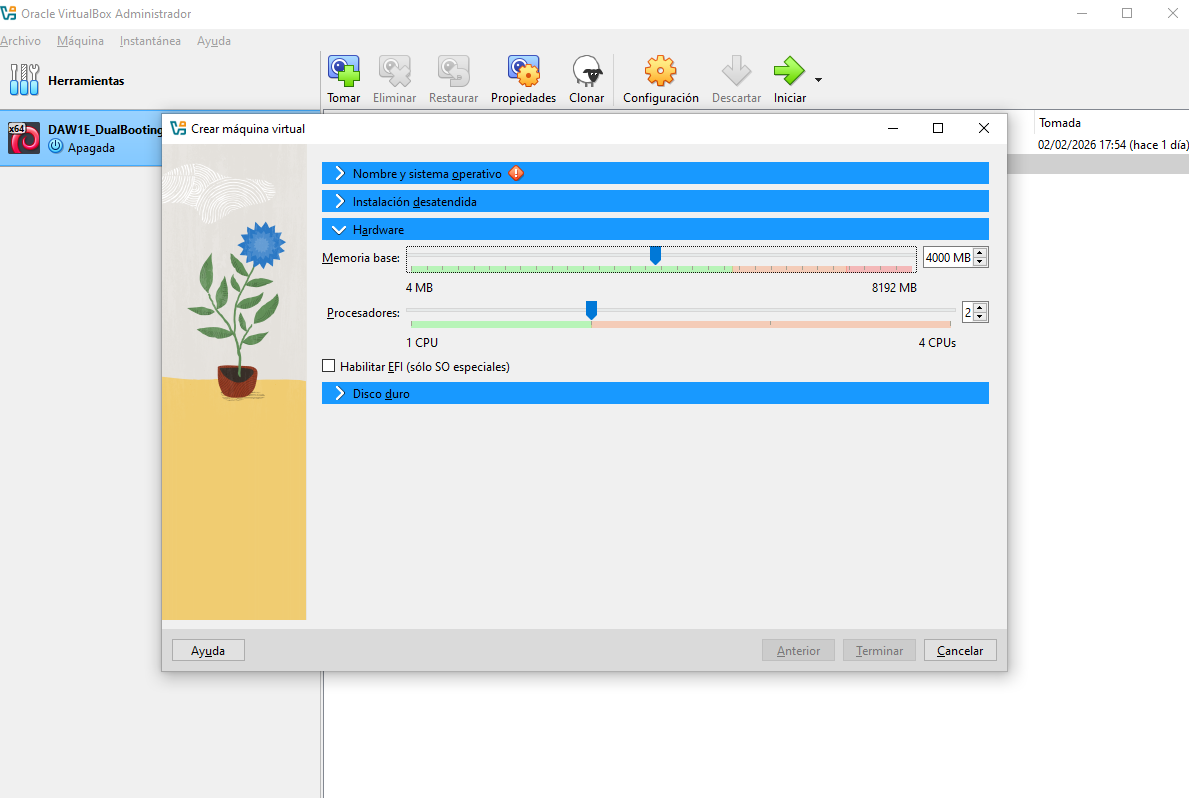
- 5️⃣ Hardware: allocate how much resource of host2 you will give to the VM
- allocate half of RAM, cores
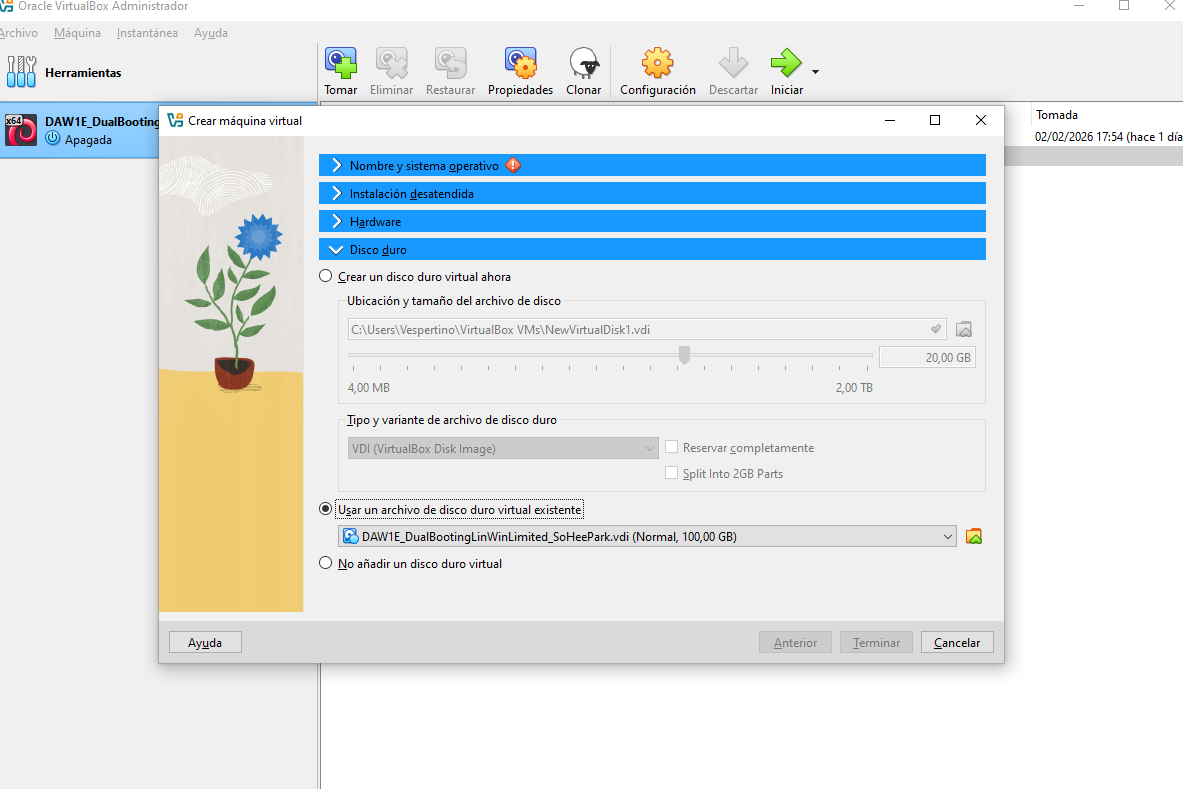
- 6️⃣ Harddisk: do not create a new
vdi - remember, you are just creating an access, not a new machine.
- you navigate, and use the existing
vdi
This post is licensed under CC BY 4.0 by the author.